Hey Lovlies! I’m back with the first post of 2022!!!! Things are finally settling down in my life and I’m finally in a better headspace to start writing again. This wont be a long post; just a Happy New Year and a stay tuned for all the exciting things to come!
So… Happy New Year!!!!!
I wont bore you with a holiday (or end of the year) recap but I’ll just say this; aside from losing of my grandmother right before Christmas, the holiday break was nice and relaxing and I was able to spend much needed QUALITY TIME with my family.
The end of 2021 was really rough but throughout that time I was really able to access and focus in on what is truly important to me; my family and my art. I came into the new year feeling like I was regaining a pulse on what I really want in life, who I am now and most importantly who I want to be.
I am really excited for all the new opportunities and experiences this new year will bring. I have some major goals that I want to accomplish I am determined to achieve them; no excuses.
Stay tuned for all of the wonderful things I have planned for this blog and the Young-LifestyEL brand.
Be Blessed!
Make sure ( if you haven’t already)to connect with me on IG @nakiayoungel
Recently my husband and I decided to create a homeschool environment for our toddler. Noble is only 2.5 years old but we wanted to start introducing a little routine and an educational atmosphere for him. I decided that we would do a half-day pre-school schedule from around 9AM to 12PM Monday through Friday.
Now, I’m no trained educator so of course I had to do my research on various lesson plans, activities and pre-school appropriate curriculums and although we are only in our second week things have been going well.
One of the hands-on activities that I chose to incorporate into our weekly schedule is Baking. I love to bake but haven’t really been able to do it as much as I would like to. So now, on Wednesdays we bake.
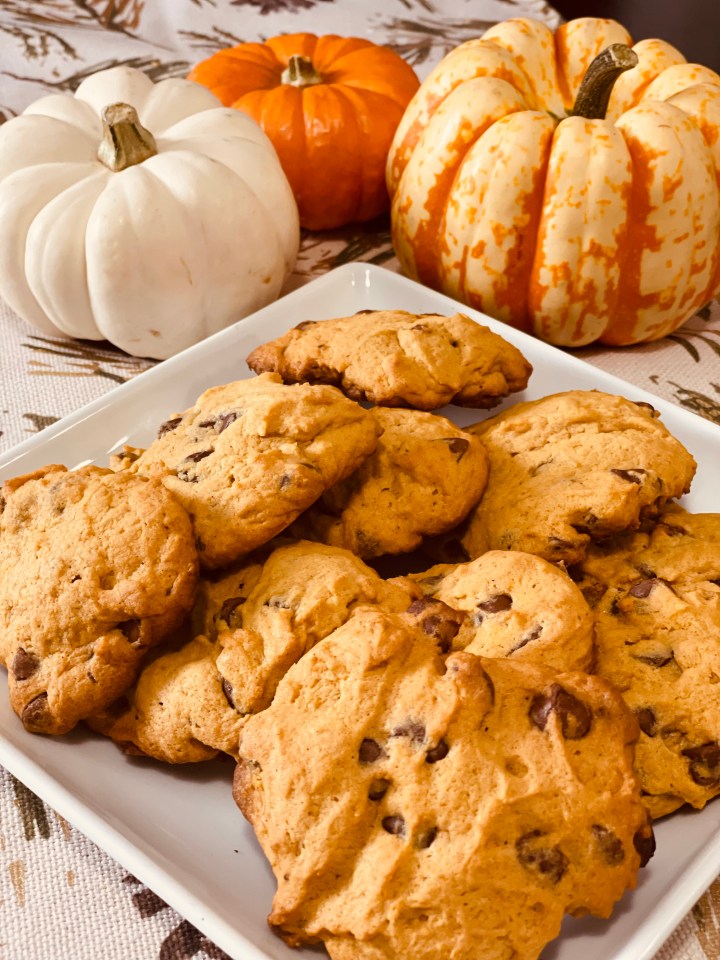
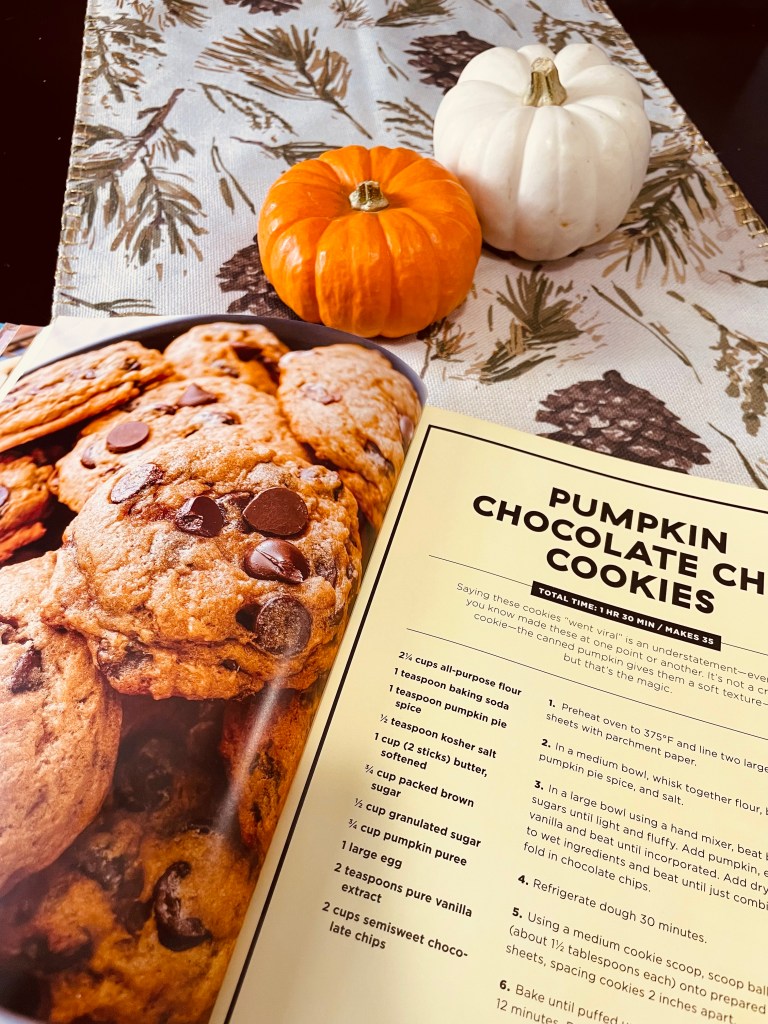
A little while ago I purchased this great dessert recipe book (Delish Insane Sweets by JoAnna Saltz & The Editors of Delish) from Target and I’m determined to try every recipe in the book. This past week Noble and I baked Chocolate Chip Pumpkin Cookies and they were so delicious and easily one of my new favorite Fall treats.
If you are a beginner baker this recipe is pretty easy and quick to make. The recipe calls for the following ingredients:
2 1/4 cup of All Purpose Flour
1 Tsp of Pumpkin Pie Spice
1/2 Tsp of Kosher Salt
1 Tsp baking soda
3/4 Cup of Brown Sugar
1/2 Cup of Granulated Sugar
2 Sticks of Butter
3/4 Cup of Pumpkin Puree
2 Cups of Semisweet Chocolate Chips
2 Tsp of Pure Vanilla Extract
1 Large Egg
Noble enjoying playing in all the ingredients. He also threw Flour at me which you can see the evidence of in my hair.
Before you get started mixing all of your ingredients you will want to preheat your oven to 375 degrees F and line your baking sheets.
The first ingredients you will need to mix together are the baking soda, flour, salt and pumpkin pie spice.
Next you will want to mix together the butter (softened) and the sugars together. Be sure to mix these together in a separate bowl from the flour mixture. Although you can use a hand whisk for this step its probably a lot easier if you use a hand mixer.
Once you have the butter and sugar mixed until its nice and fluffy you can add the egg, vanilla, and pumpkin puree. Once these ingredients are mixed well you can add the flour, baking soda and pumpkin pie spice mixture to it.
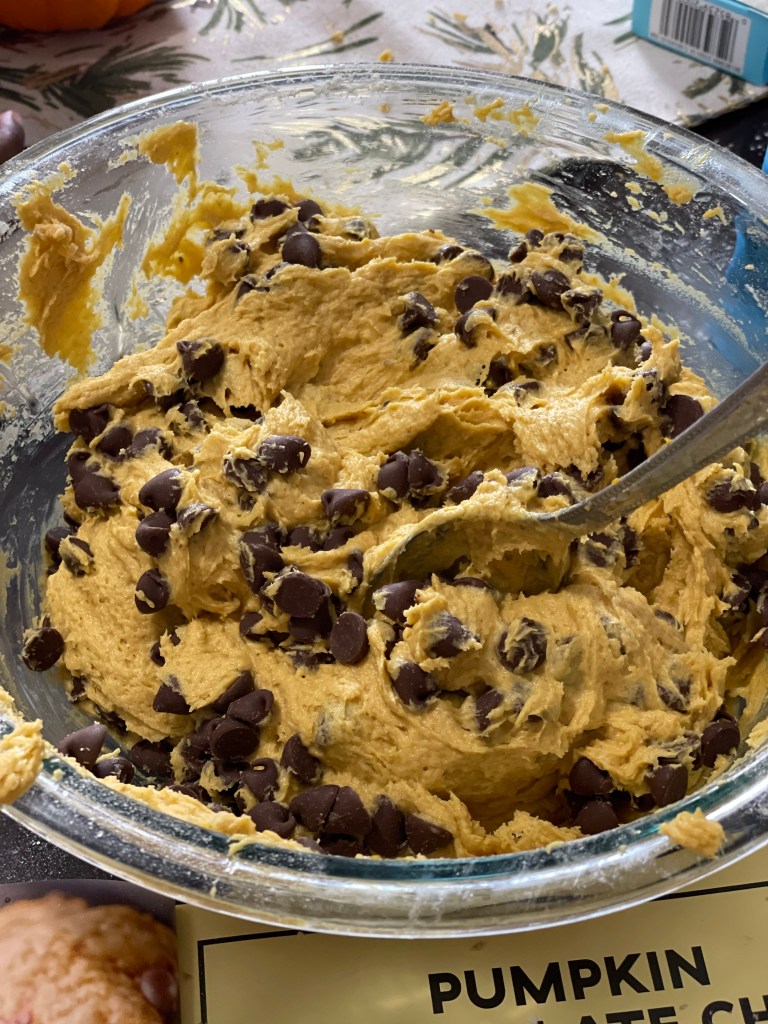
The last thing you will mix is are the Chocolate chips (yum). You will want to make sure to fold the chocolate chips into the mixture (do not use hand mixer or whisk for this step),
Once all the ingredients have been mixed together place the mixture in the refrigerator for about 30 minutes.
After 30 minutes take the cookie dough mixture out and scoop out small balls of dough to place on your baking sheets (size of cookie dough balls will depend on how big you want the cookies). Also make sure to spread the cookies apart by about 2 inches or so.
Lastly, you will bake each batch for about 12 minutes.
When I tell you that these cookies are so soft and so tasty I am not kidding.
They are definitely a great option for any Fall festivities and gatherings or if you simply just love all things Pumpkin flavored and sweet.
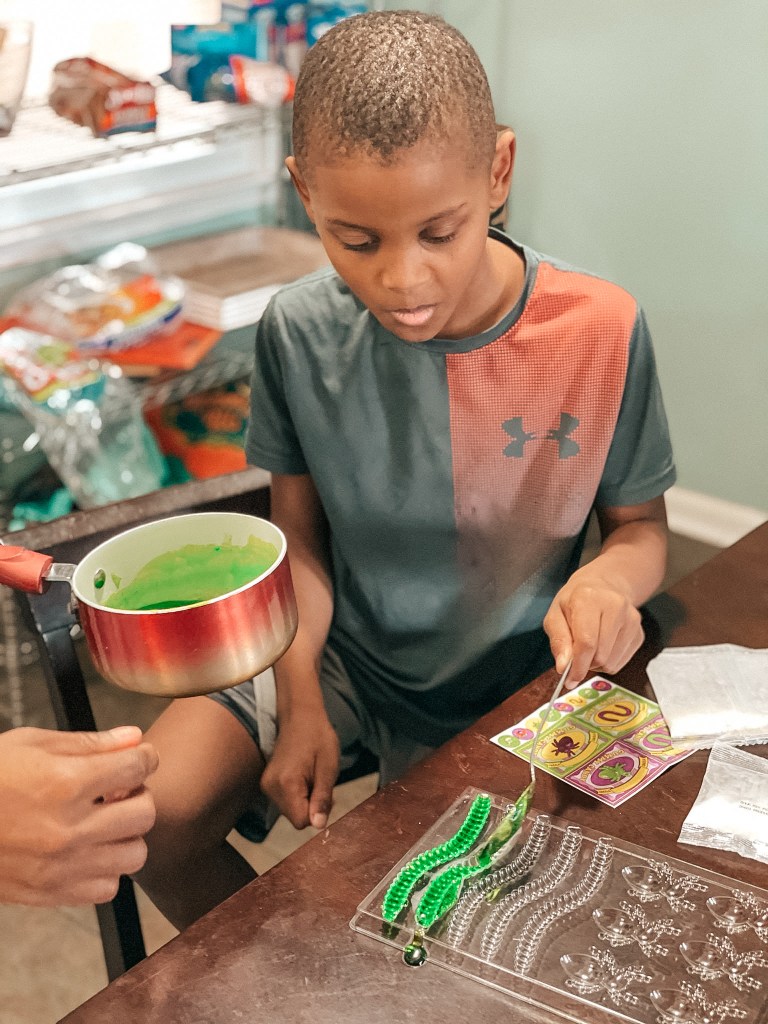
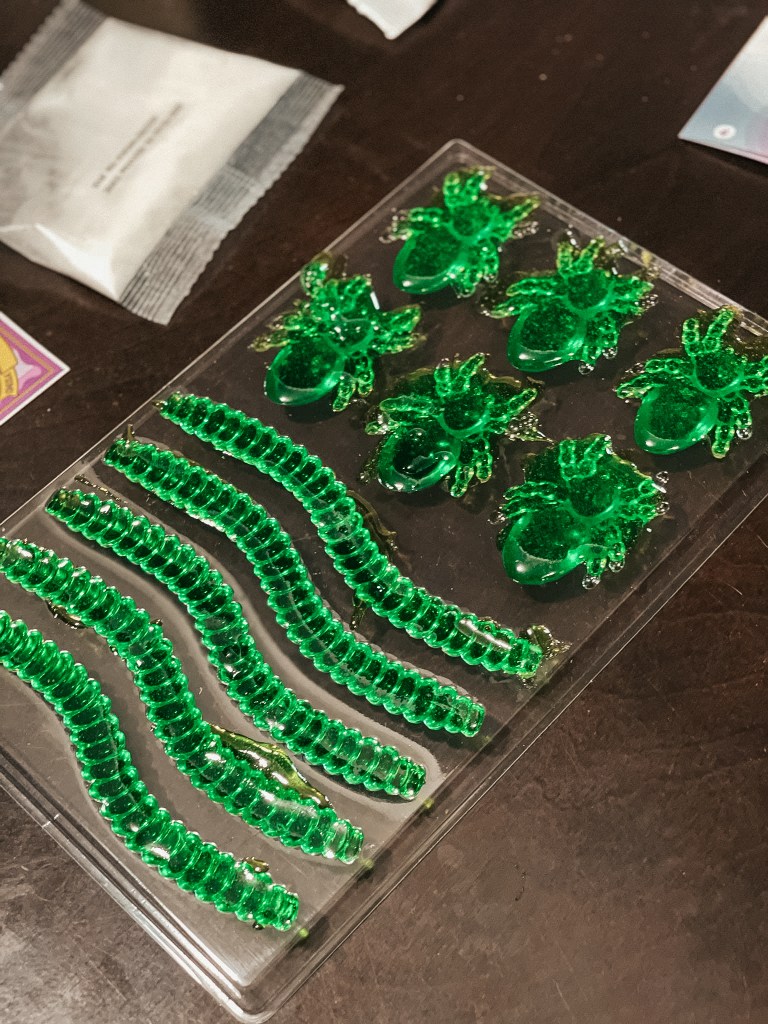
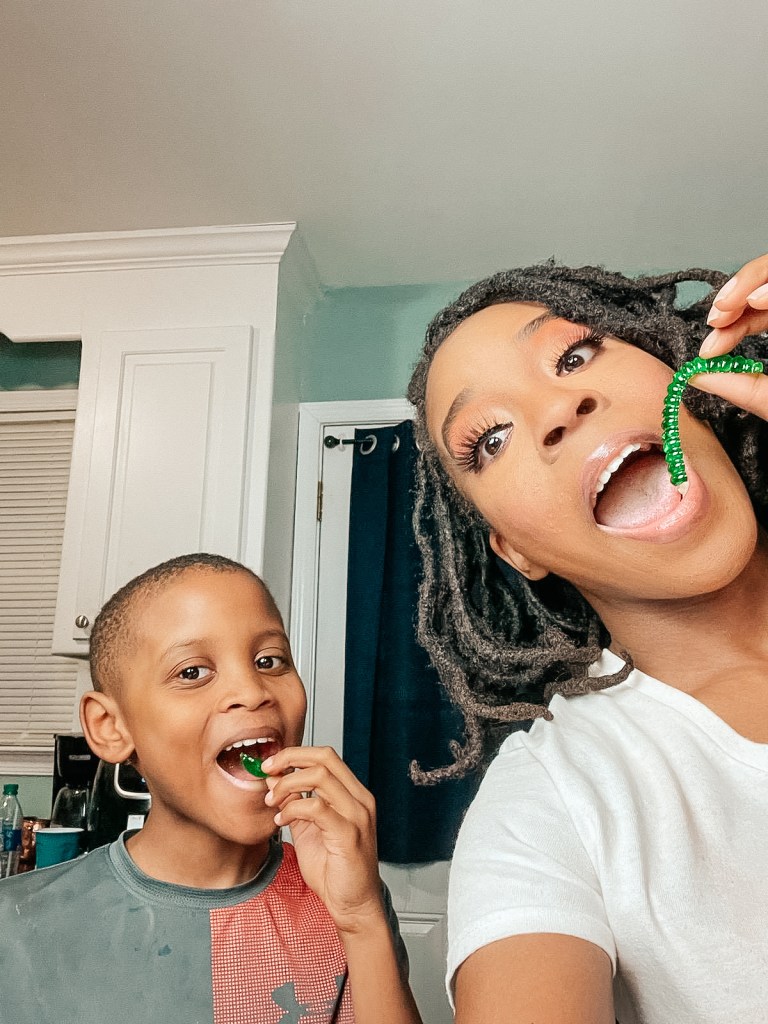
Last week while in Staples for some supplies I came across this Gummy Candy Lab and just had to get it for my son. I knew that it would be a hit because 1.) our entire family loves gummies and 2.) Brian loves experiments and making things.
The kit was under $20 and came with everything needed to make your very own gummy candies at home. The entire activity took about 15 minutes (not including the refrigerator and air dry times suggested in the instructions). It is definitely a fun activity to do with children ages 6+ and of course if you just LOVE gummies like we do.
The gummies taste a bit different than what you would buy at the store but they were still quite tasty.
Getting the gummy mix into the mold wasn’t as easy as I thought because the mix starts to jellify quickly once you take it off the stove.
So if you are looking for a fun and quick activity to do with your older children I would definitely recommend swinging past Staples to pick up the kit or ordering one online.
So if you are like me this past year of being “Bored in the house and in the house bored” due to COVID has certainly forced you to get creative with ways to entertain your kiddos. I’ll be honest, this has been particularly challenging for my husband and I because of the age gap between our boys.
We have done everything from outdoor scavenger hunts, to building tents in the house to taking up weekly baking. Needless to say we are always looking for new and fun ways to keep our boys entertained.
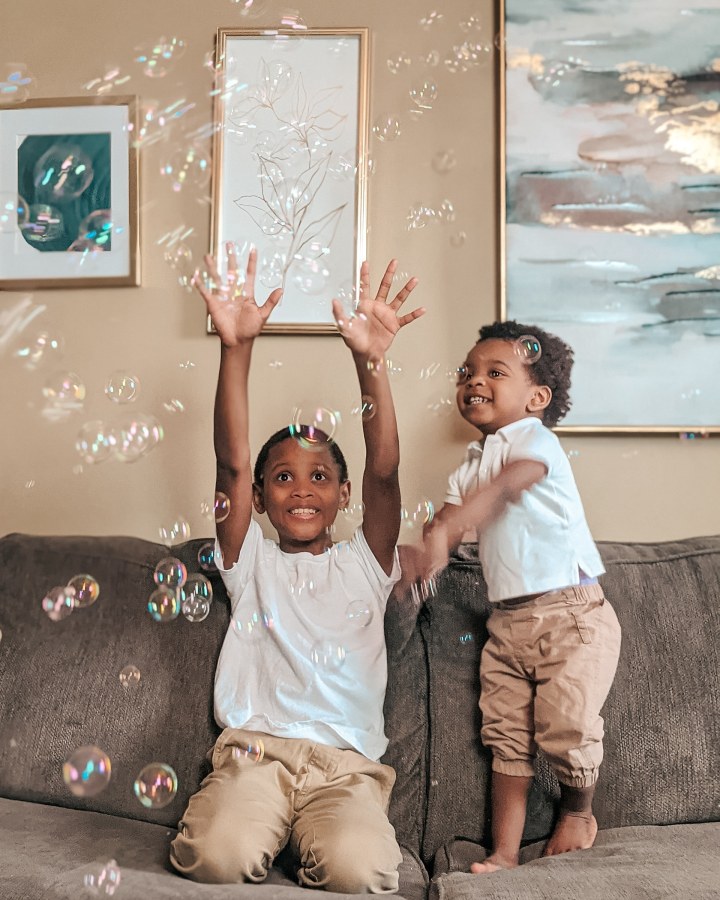
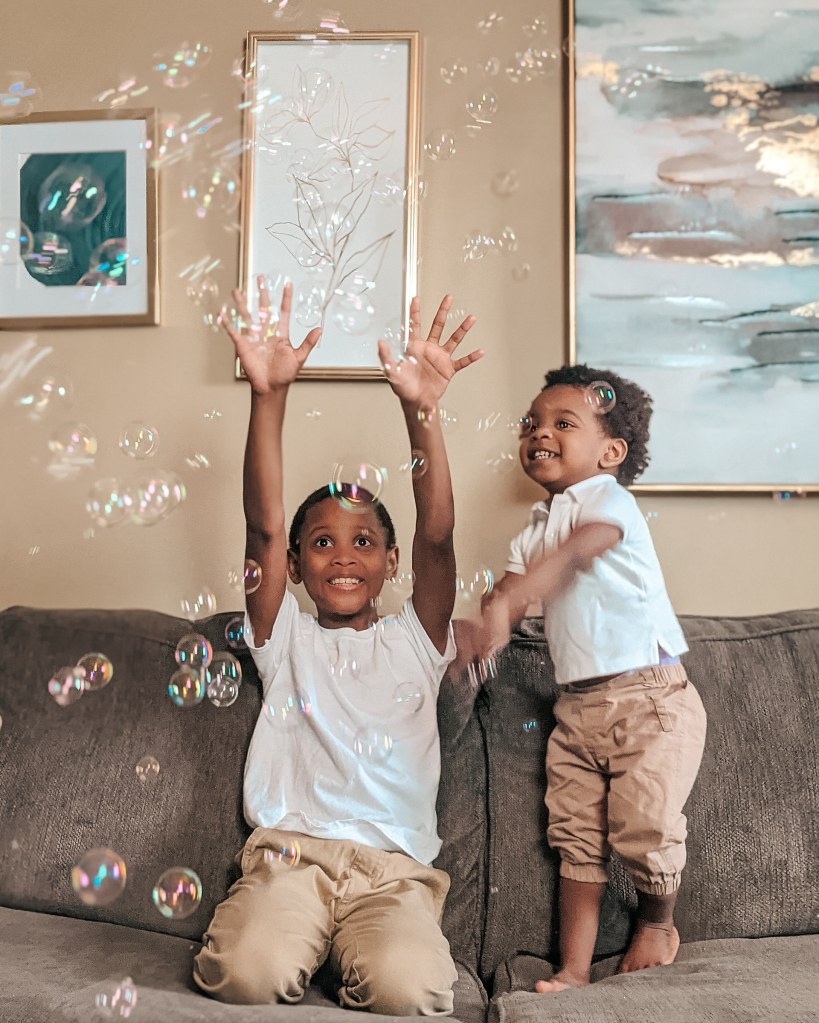
Recently our little guy turned 2 and one of the gifts he received from his grandparents was a Bubble Maker. All I can say is…why didn’t anybody tell me sooner that our lives were missing a bubble maker? When I tell you that our entire family enjoyed playing with the bubble maker as it blew out all those bubbles at once I am telling no lies. I don’t know if I enjoyed bubbles as a child (how could I not) but what I do know is that this bubble maker certainly brought my inner child out.
So, I figured I’d share my new found “KIDertainment” idea for all the parents out there looking for new and fun things to get and enjoy with your children.
A family friend also gave us the idea to put food coloring in the bubble solution that we can have different color bubbles and we’re so excited to try that with the boys soon.
Do you have any good “KIDertainment” ideas you can share? Drop a comment below!
I know what you’re thinking “She hasn’t written a blog post since before Covid REALLY hit!”, and you know what…You are 100 % right! I’ll be honest, this year I intended to write a LOT more post but the adjustment to full time entrepreneur & homeschool teacher coupled with the already demanding roles of wife and boy mom had a sista BUSY!
But I’m here now, at the end of December trying to convince ya’ll that 2021 will be different and that I will do better (I will I will). However, since it is the end of the year and I’m not going to bore you all with a play by play of all the months where I didn’t post an entry, I decided I would just end the year on something light.
This year because of that girl “Rona” my family really got creative on ways to make the best of our time at home. I converted a space in our home to a full studio which I run 90% of my company out of, we turned our guest room into a play room for the boys and literally any area of our home will act as my photo studio.
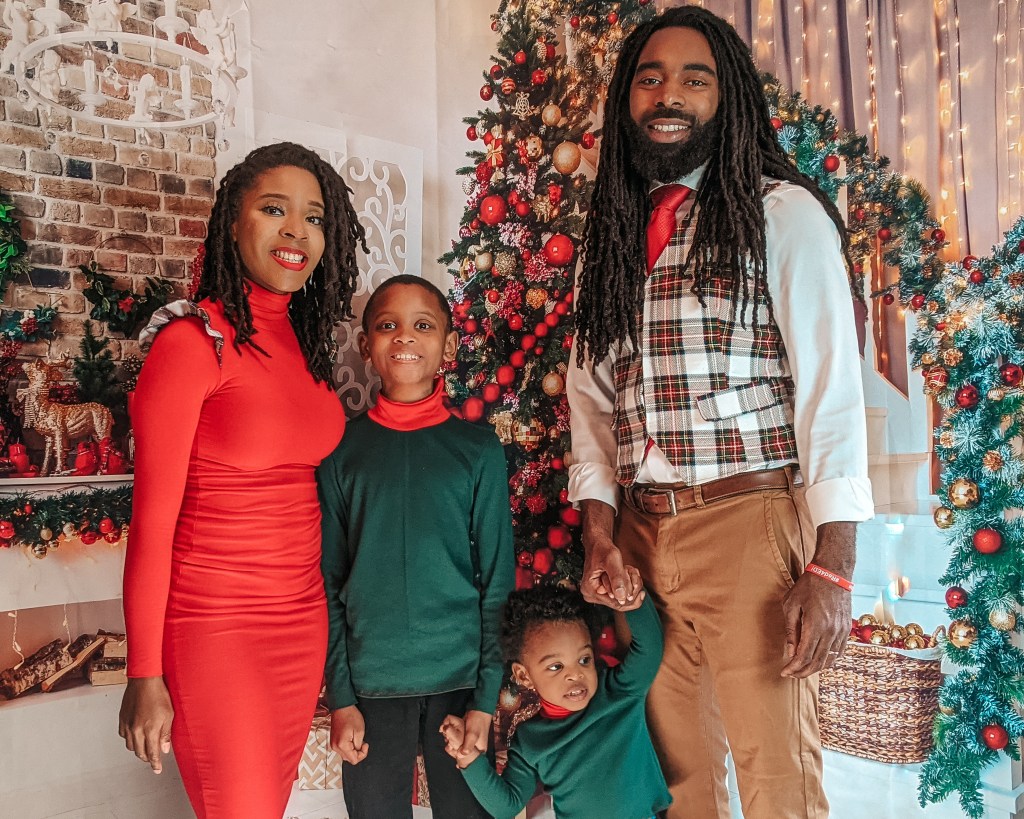
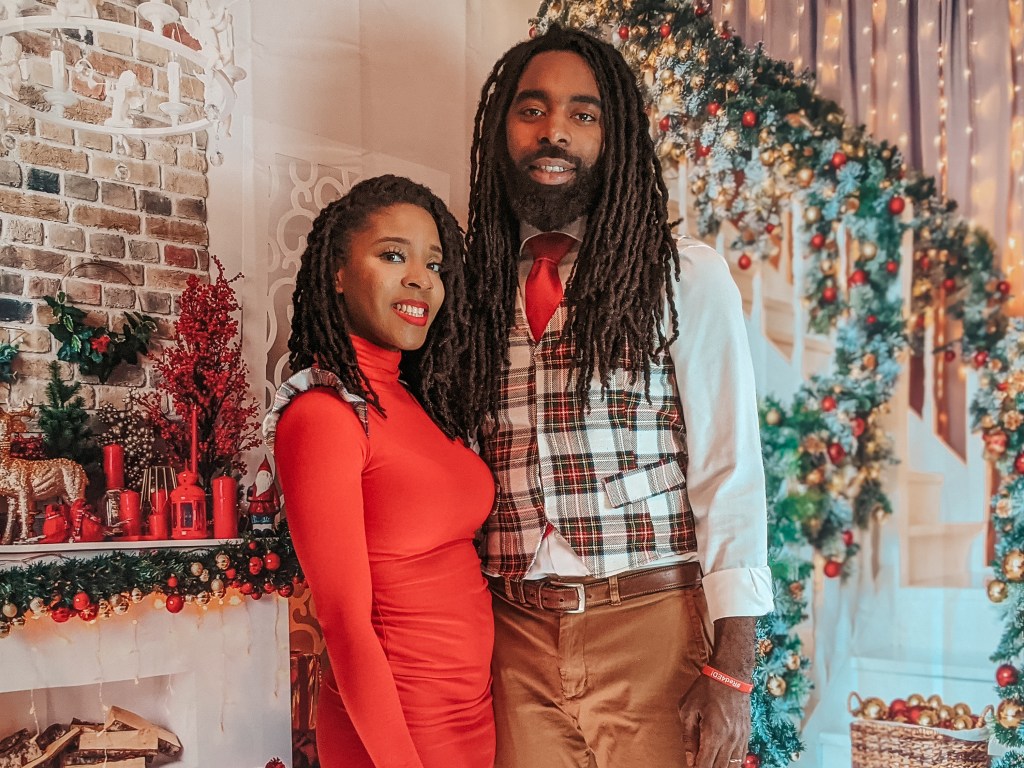
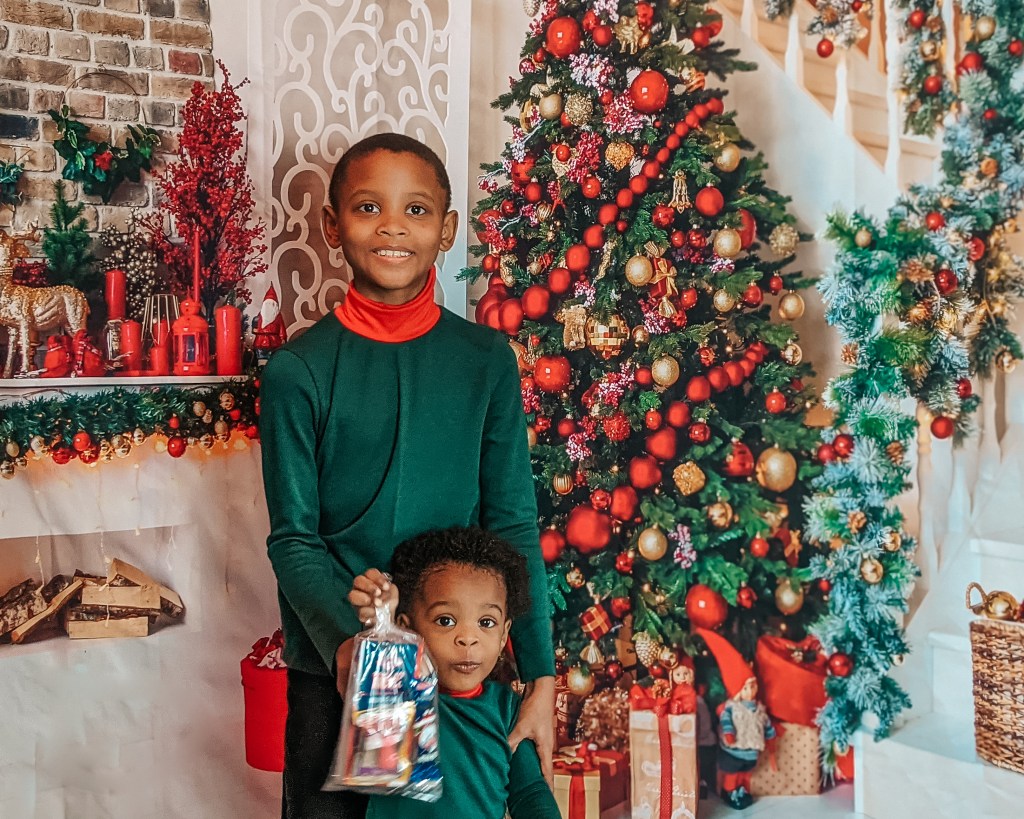
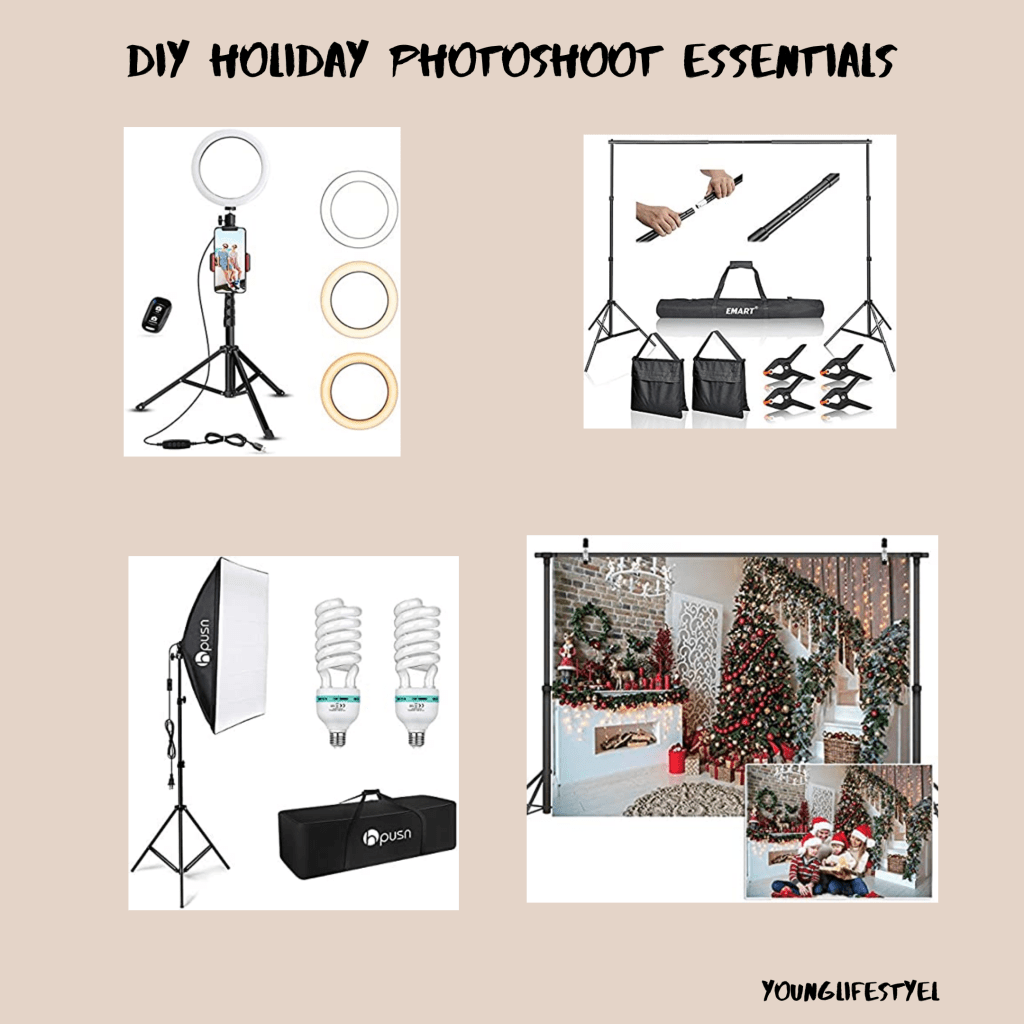
I wanted really bad to do family Holiday photos this year; its actually something I’ve wanted to do since my husband and I got married in 2018. Since we weren’t going to venture out to a professional photography studio in the midst of Covid I decided on a DIY Holiday Family photoshoot and I must say…I think it turned out great!
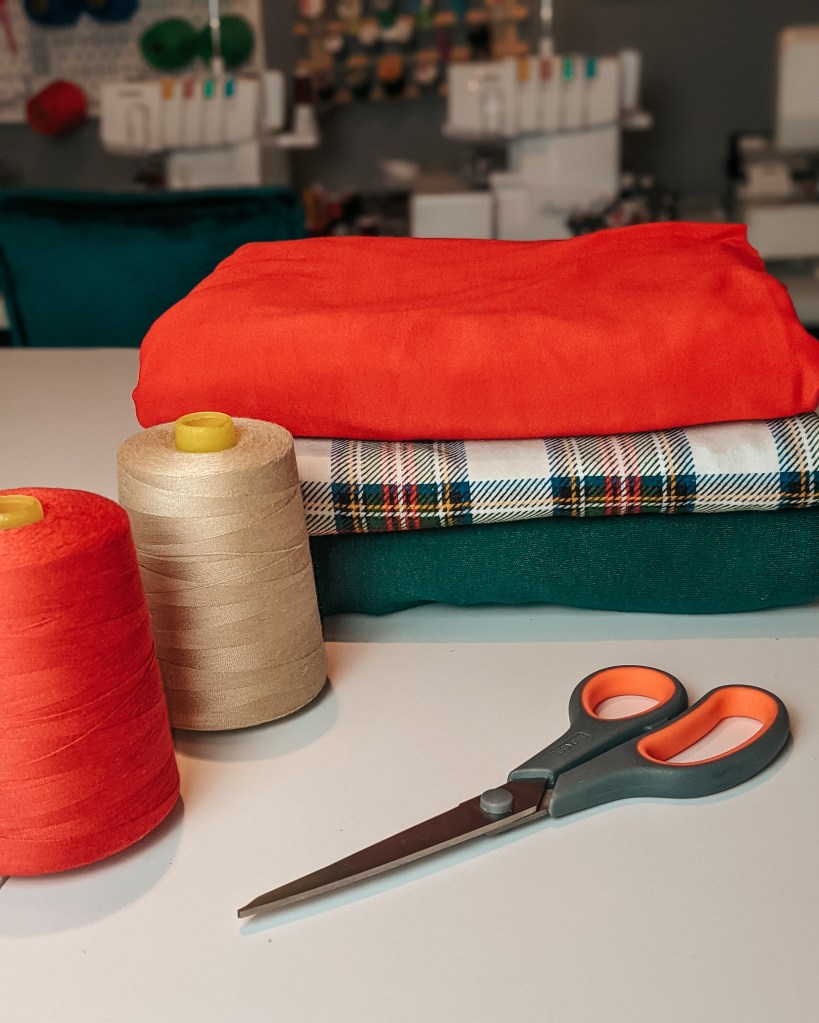
The entire photoshoot was a huge success aside from Noble (my toddler) getting rowdy after picture #3 and making it impossible to get a photo where everyone was looking at the camera AND smiling lol. The DIY part of our photoshoot I was most proud of was all of the custom clothing pieces I made my family. I made my husband a vest, my boys turtle neck shirts and myself a dress.